Yes, I know, Valentine's Day is long past, however, since we're still in February I think it's not too late to post cards, what do you say?
I made these cards a while back, however, because I've been super busy, I wasn't able to post them to my site, so for your viewing pleasure, here they are:
I made this card especially for someone who wanted to give it to their hubby. Drawing inspiration from
here and using the sketch on the left, this is what I came up with. The background papers we digi papers purchased from
Mygrafico. The papers are by Cupcake Cutiees and they're called Hearts N Love papers. The Love of My Heart sentiment was printed on
Gina K Designs Red Hot and Dark Chocolate cardstock from my computer using the Channel font, and I finished by embellishing with brown ribbons and two pearl pins to which I added tiny pearls at the end so they won't stick anyone, lol! The card on the right (below) was made using the same papers, but the embellishments were from my stash. I made this one for my brother to give to his wife. I love the play of red and chocolate, don't you?

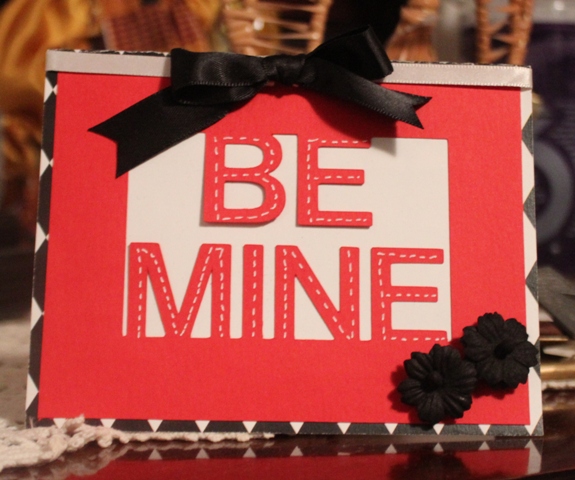
These other cards were quickies made using cutting files I purchased from the
Cutting Café. They were easy to make using
Make-the-Cut. These are the finished products. Most of the papers I used were part of a stash I've had sitting around for a long time.